
Quick Answer
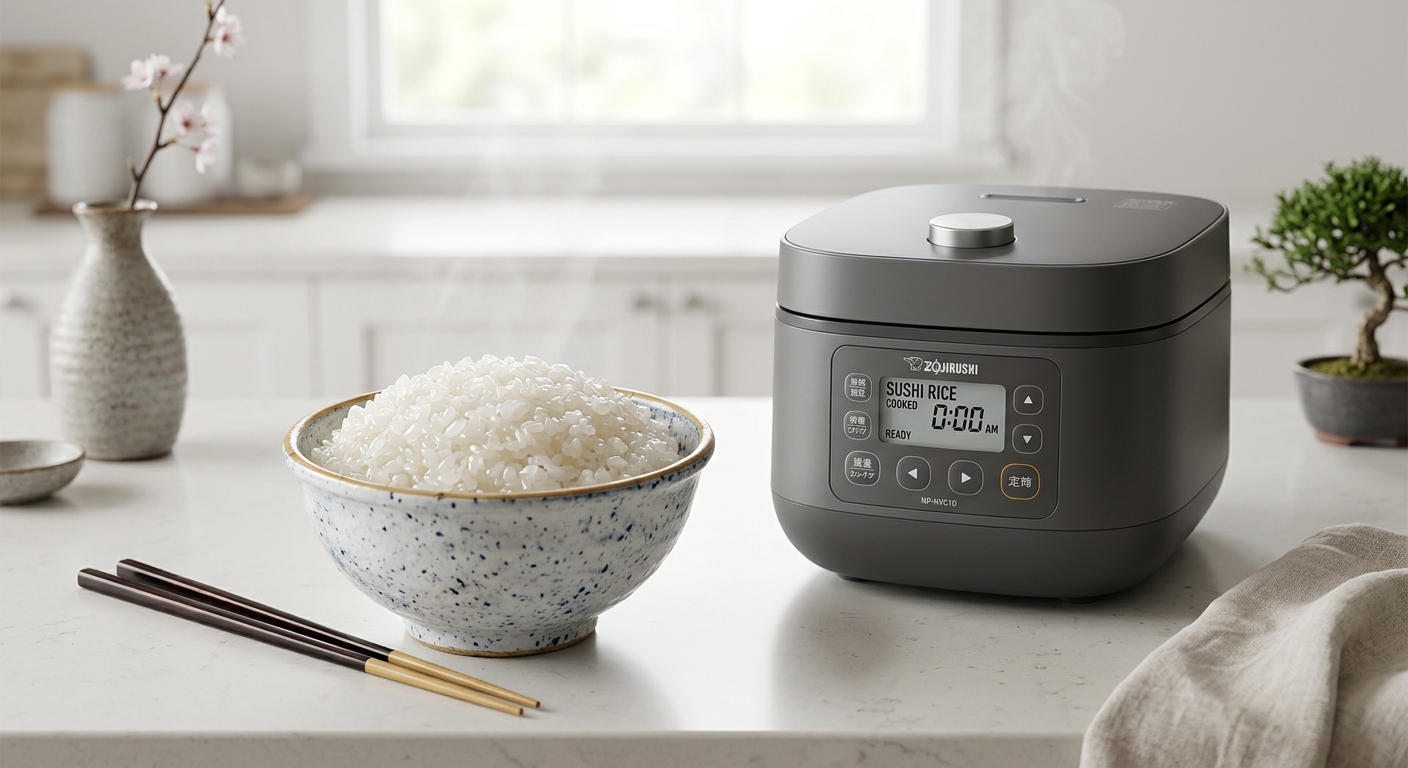
To cook sushi rice in a rice cooker, rinse short-grain sushi rice until the water runs mostly clear, use a slightly lower water ratio than regular white rice (about 1:1.1 rather than 1:1.5), and let it rest for 10 minutes after cooking before folding in seasoned vinegar. The biggest mistakes are skipping the rinse and using too much water, both of which leave the rice too sticky and wet to shape properly.
Why Sushi Rice Is Different from Regular Rice
Sushi rice uses short-grain Japanese rice, which has more surface starch than the long-grain or basmati rice most rice cookers are set up for by default. That extra starch is exactly what gives sushi rice its signature sticky, cohesive texture—but it also means the standard water ratio and rinsing routine you’d use for everyday rice need to change slightly. Getting sushi rice in a rice cooker right comes down to three things: the right rice, the right water ratio, and proper rinsing.
What You’ll Need
- Short-grain Japanese sushi rice (labeled “sushi rice” or “Calrose” style)
- Your rice cooker
- Rice vinegar, sugar, and salt (for seasoning after cooking)
- A wooden or plastic rice paddle — metal utensils can crush the grains
Step-by-Step: Cooking Sushi Rice in a Rice Cooker
1. Measure the rice. Use your rice cooker’s standard cup (usually about 180 ml, smaller than a US cup) rather than a kitchen measuring cup, since rice cooker water-line markings are calibrated to that specific cup size.
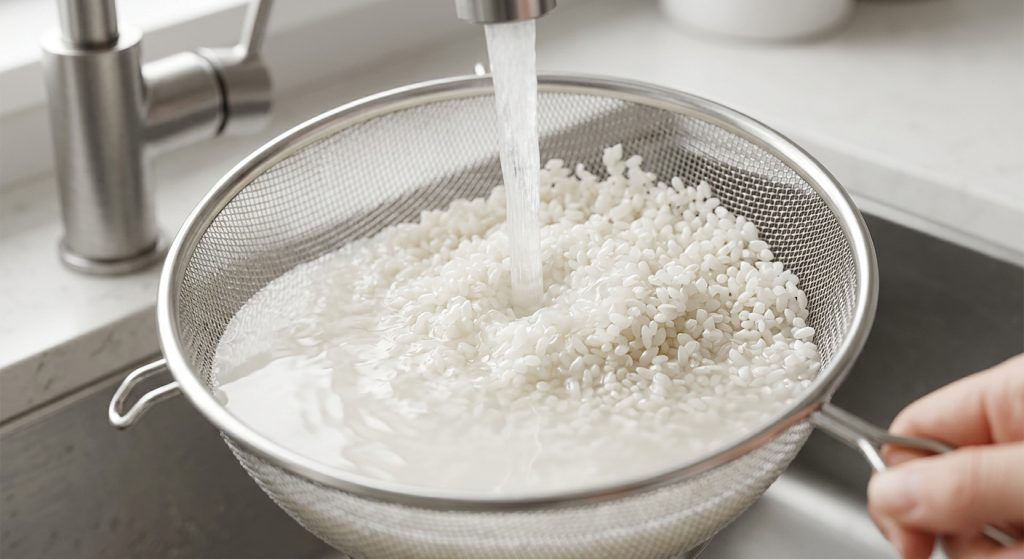
2. Rinse thoroughly. Place the rice in a bowl or fine-mesh strainer and rinse under cold water, gently swirling with your hand. Drain and repeat 3–4 times until the water runs mostly clear rather than cloudy white. This step removes excess surface starch that would otherwise make the finished rice gummy instead of pleasantly sticky.
3. Adjust the water ratio. For sushi rice in a rice cooker, use slightly less water than you would for regular white rice — roughly a 1:1.1 rice-to-water ratio rather than the 1:1.5 many rice cookers default to. If your machine has a dedicated “sushi rice” or “washed rice” setting, use the corresponding water line instead of guessing.
4. Let the rice soak (optional but recommended). Letting the rinsed rice sit in the measured water for 20–30 minutes before starting the cook cycle allows the grains to absorb water evenly, which produces a more consistent texture throughout.
5. Cook using the standard or “sushi rice” setting. Start the cooker and let it run its full cycle without opening the lid partway through — lifting the lid releases steam and disrupts even cooking.
6. Rest for 10 minutes after cooking. Once the cooker switches to “Keep Warm,” leave the lid closed for another 10 minutes before opening. This lets residual steam finish softening the grains evenly.
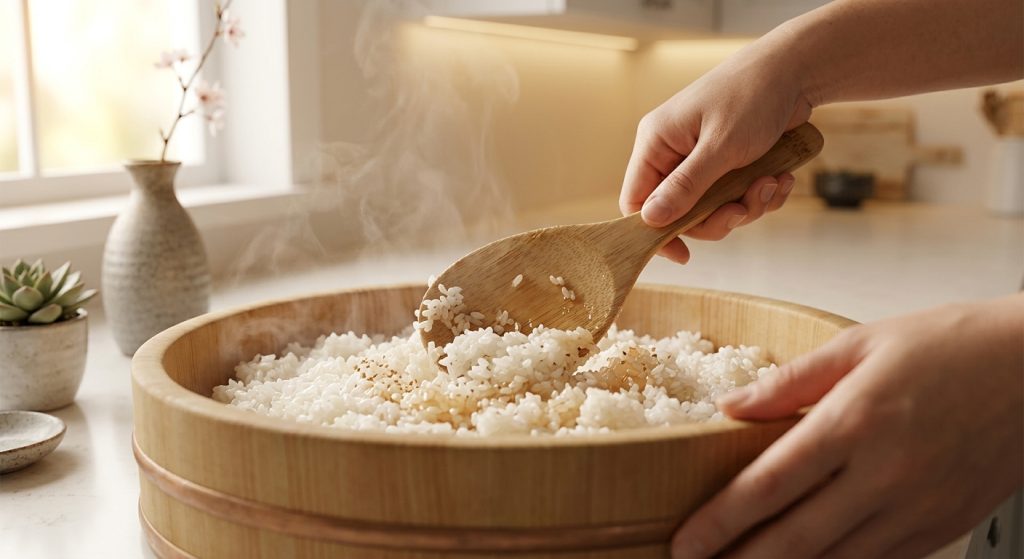
7. Transfer and season. Move the rice into a wide, non-metallic bowl (a wooden hangiri if you have one) and gently fold in seasoned rice vinegar using a cutting motion with your paddle, rather than stirring, which can mash the grains.
Sushi Rice Water Ratio Cheat Sheet
| Rice Amount | Regular White Rice Water | Sushi Rice Water |
|---|---|---|
| 1 rice-cooker cup | ~1.5 cups | ~1.1 cups |
| 2 rice-cooker cups | ~3 cups | ~2.2 cups |
| 3 rice-cooker cups | ~4.5 cups | ~3.3 cups |
These are starting points — exact ratios can vary slightly by rice brand and how long you soaked the rice beforehand, so adjust in small increments if your results are consistently too wet or too dry.
Common Mistakes to Avoid
Skipping the rinse. This is the single most common reason sushi rice turns out gummy instead of properly sticky — unrinsed rice carries too much loose surface starch into the cooking water.
Using your regular rice water ratio. Sushi rice needs less water than long-grain rice; using your usual ratio produces rice that’s too soft and wet to hold together when shaped.
Seasoning the rice while it’s too hot. Adding vinegar seasoning immediately after cooking, while the rice is still steaming hot, can make it mushy. Let it cool slightly first — warm, not steaming, is the right temperature.
Using a metal spoon to mix. Metal utensils crush and break the grains. Stick to a wooden or plastic paddle, using gentle folding motions rather than stirring.
Troubleshooting Common Texture Problems
Rice is too wet and clumpy. This usually means too much water or insufficient resting time after cooking. Reduce the water slightly next time, and make sure you’re letting the rice rest with the lid closed for the full 10 minutes before opening.
Rice is dry and separate instead of sticky. This points to too little water, over-rinsing to the point of removing too much starch, or skipping the soak step. Add a touch more water next round and consider soaking for 20–30 minutes before cooking.
Rice cooked unevenly, with a harder layer at the top. This is often a sign the lid was opened during cooking, letting steam escape and disrupting the cook cycle. Resist checking on the rice until the cooker signals it’s done.
Rice tastes bland even after seasoning. This usually means the vinegar mixture wasn’t warm enough to fully dissolve the sugar and salt, or wasn’t folded through thoroughly enough to coat each grain. Gently warm the seasoning mixture just until dissolved, then fold — don’t stir — it evenly through the rice.
Simple Sushi Vinegar Seasoning
For roughly 2 cups of cooked rice, combine 3 tablespoons rice vinegar, 1 tablespoon sugar, and 1 teaspoon salt. Warm gently just until the sugar dissolves (don’t boil), then fold into the rice while it’s still warm but not hot.
Frequently Asked Questions
1. Can I use a regular rice cooker for sushi rice, or do I need a special one? A regular rice cooker works fine for sushi rice. Some higher-end models include a dedicated “sushi rice” setting, but it isn’t required — adjusting the water ratio manually produces good results on any standard rice cooker.
2. Why does my sushi rice come out mushy? Mushy sushi rice is almost always caused by too much water, insufficient rinsing, or opening the lid during cooking, which lets steam escape and disrupts the cooking process.
3. How long should I rinse sushi rice? Rinse until the water runs mostly clear rather than cloudy, which usually takes 3–4 rounds of rinsing and draining. A slightly milky tint on the final rinse is normal and fine.
4. Can I make sushi rice without rice vinegar? You can cook the rice itself without vinegar, but traditional sushi rice’s characteristic tangy flavor comes specifically from the vinegar seasoning added after cooking — skipping it will give you well-cooked short-grain rice, not true sushi rice.
5. Do I need to soak sushi rice before cooking? Soaking for 20–30 minutes isn’t strictly required, but it produces more evenly cooked grains, especially in rice cookers without a dedicated sushi setting.
6. How long does cooked sushi rice stay fresh? Sushi rice is best used the same day it’s made, ideally within a few hours, since refrigeration firms up the starches and changes the texture significantly. If you must store leftovers, keep them covered at room temperature for a few hours rather than refrigerating.
7. Can I use brown rice for sushi? Traditional sushi uses short-grain white rice for its texture and stickiness. Brown rice can be used for a healthier variation, but it requires a different water ratio and longer cooking time, and the texture will be noticeably less sticky.
8. What’s the difference between sushi rice and regular short-grain rice? “Sushi rice” is typically just short-grain Japonica rice — the same rice sold as “short-grain” or “Calrose” in many grocery stores. The seasoning process, not a special rice variety, is what technically makes it “sushi rice.”
Conclusion
Cooking sushi rice in a rice cooker comes down to three adjustments from your everyday rice routine: thorough rinsing, a slightly lower water ratio, and a proper rest period before seasoning. Once you’ve dialed in the ratio for your specific rice cooker, this becomes one of the easiest parts of making sushi at home.
🛒 Recommended Products
- Joyce Chen Burnished Bamboo Rice Paddle — the right tool for folding in seasoning without crushing the grains
- JapanBargain Bamboo Sushi Making Kit (Rolling Mats + Paddle) — everything you need to go from cooked rice to rolled sushi at home
Affiliate Disclosure: This article may contain affiliate links. If you purchase through one of these links, Smart Kitchen Vibe may earn a small commission at no additional cost to you.
Recommended Guides
- The Ultimate Cuckoo Rice Cooker Water Ratio Guide
- Top 5 Best Rice Cookers for Perfect, Fluffy Grains Every Time (2026 Review)
- Why Does My Rice Cooker Burn the Bottom? 5 Proven Fixes
References
- Japanese culinary sources on traditional sushi rice preparation ratios
- Rice cooker manufacturer guidance on washed/sushi rice settings
Editorial Note
Reviewed by the Smart Kitchen Vibe Editorial Team
This guide focuses on adapting standard rice cooker technique for short-grain sushi rice specifically, since the water ratio and rinsing needs differ meaningfully from everyday long-grain rice. Exact water ratios can vary slightly by rice brand and rice cooker model, so treat the measurements here as a reliable starting point to fine-tune for your own kitchen.