
How to Descale a Coffee Maker Properly: Complete Step-by-Step Guide

Quick Answer
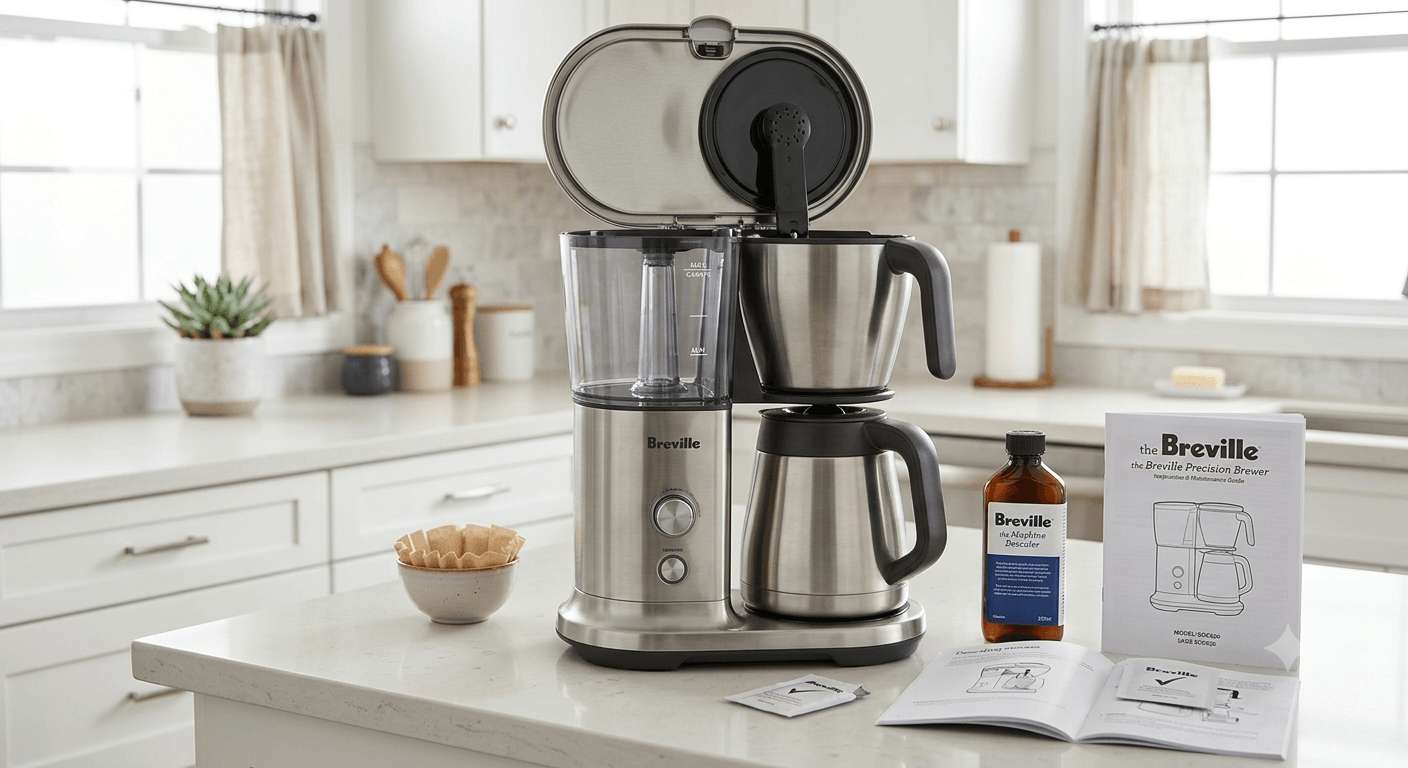
If you want to know how to descale a coffee maker properly, the process is simple: empty the machine, remove any coffee grounds and water filter, add the recommended descaling solution, and run it through its cleaning cycle.
For some drip coffee makers, manufacturers recommend a diluted white-vinegar solution. Other machines, especially many espresso and automatic coffee machines, require a specific descaling product instead. Always check your coffee maker’s manual before choosing a descaling solution.
Why Does a Coffee Maker Need Descaling?
Every time you brew coffee, water passes through the internal tubing and heating system of your machine. If your water contains minerals such as calcium and magnesium, those minerals can gradually accumulate inside the machine. This buildup is commonly called limescale or mineral scale.
Understanding how to descale a coffee maker regularly prevents internal clogging and extends the lifespan of your appliance.
Over time, scale can
- Slow down the brewing process
- Reduce water flow
- Affect coffee temperature
- Change the taste of your coffee
- Cause unusual noises
- Reduce heating efficiency
- Contribute to clogs and poor performance
Regular descaling helps remove these mineral deposits and keeps the coffee maker working more efficiently — most major manufacturers note that mineral buildup can directly affect brewing performance and coffee quality.
Descaling vs. Cleaning: What’s the Difference?
These two terms are often confused, but they aren’t exactly the same.
Cleaning removes coffee oils, coffee residue, grounds, stains, and milk or sugar residue — usually by washing the carafe, filter basket, lid, and other removable components.
Descaling is specifically designed to remove mineral deposits and limescale from inside the machine’s internal water path.
So, washing your coffee pot every day doesn’t mean the inside of the machine is free from scale. For the best results, you need both regular cleaning and periodic descaling.
How Often Should You Descale a Coffee Maker?
There isn’t one universal schedule for every coffee maker. The ideal frequency depends mainly on water hardness, how frequently you use the machine, whether you use filtered water, and the manufacturer’s own recommendations, which commonly range from roughly monthly to every few months depending on the brand and model.
A Simple Starting Point
| Usage & Water Type | Suggested Starting Point |
|---|---|
| Soft/filtered water, occasional use | Every 3 months |
| Average household use | Every 1–3 months |
| Hard water | About every month |
| Heavy daily use | Follow your model’s maintenance schedule |
Important: If your machine has a “Clean” or “Descale” indicator light, use that along with your manufacturer’s manual rather than relying only on a calendar.
Signs Your Coffee Maker Needs Descaling
Not sure whether your machine needs a descale cycle? Look for these signs:
- Coffee takes longer to brew — if your machine used to brew quickly but now takes noticeably longer, mineral buildup may be restricting water flow.
- Coffee isn’t as hot — scale buildup around the heating system can affect how efficiently the machine heats water.
- Water comes out slowly — a partially restricted internal water path can cause weak or slow water flow.
- Coffee tastes different — mineral buildup and residue can contribute to unpleasant or unusual flavors.
- The machine makes unusual noises—gurgling, popping, or other unusual sounds can occur as water moves through a machine with mineral buildup.
- The Clean or Descale light turns on many modern machines monitor maintenance needs and display a notification automatically.
What Do You Need to Descale a Coffee Maker?
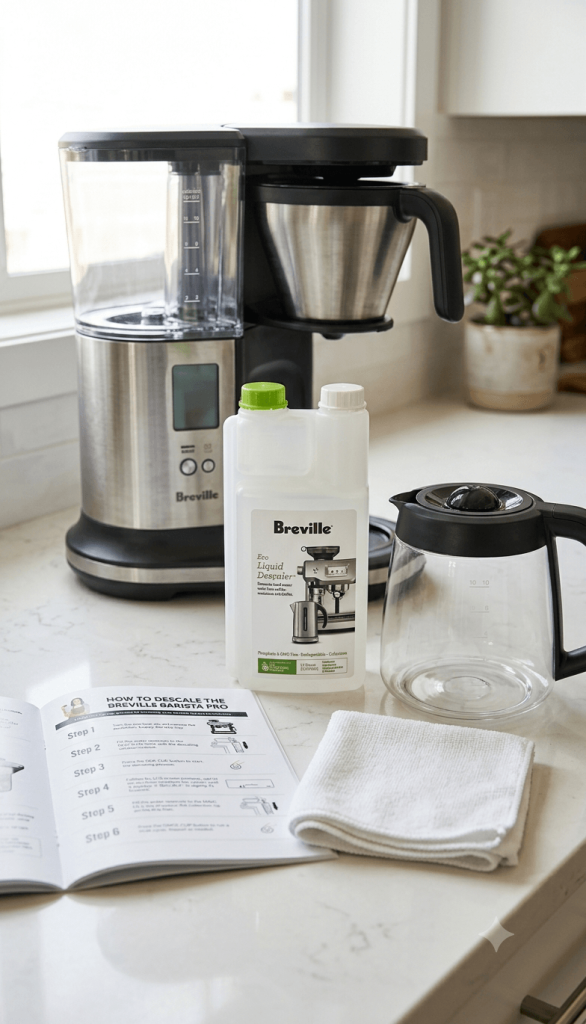
Before starting, gather:
- Your coffee maker’s user manual
- A manufacturer-approved descaling solution, or vinegar if your specific model allows it
- Fresh water
- An empty coffee carafe or large container
- A clean cloth
- A sink for disposing of the used solution
If your coffee maker has a removable water filter, check the manufacturer’s instructions to determine whether it should be removed before descaling. Many brands specifically instruct users to remove any water filter cartridge before running a descale cycle.
🛠️ Step-by-Step Guide: How to Descale a Coffee Maker
The exact button sequence varies by model, but the general process is similar across most machines.
Step 1: Turn Off and Empty the Coffee Maker
Turn off the coffee maker and remove any used coffee grounds, the paper filter, remaining water, and coffee from the carafe. Wash the carafe and filter basket separately. If your machine has a removable water filter, follow the manual’s instructions about removing it before descaling.
Step 2: Prepare the Descaling Solution
This is where you should follow your coffee maker manufacturer’s instructions first.
- Manufacturer-approved descaler: Generally the safest choice when your manufacturer specifically recommends a proprietary descaling solution. Many brands sell their own formulated descaler with model-specific dilution instructions.
- White vinegar: Some drip coffee maker manufacturers explicitly allow diluted white vinegar for compatible models.
Do not assume vinegar is appropriate for every coffee maker. If your manual specifies a particular descaler, follow that instruction instead.
Step 3: Add the Solution to the Water Reservoir
Pour the prepared descaling solution into the water reservoir according to your machine’s instructions. Don’t add coffee grounds or a paper filter. Make sure the empty carafe is positioned correctly under the brew outlet.

Step 4: Start the Descaling or Clean Cycle
If your coffee maker has a dedicated “Clean” or “Descale” button, use that function. Some machines automatically control the flow, pauses, and rinsing process. If your machine doesn’t have a dedicated cleaning program, follow the manual’s instructions for running a manual cleaning brew cycle. Don’t rush this step — the solution needs enough contact time with the internal mineral deposits to loosen them.
Step 5: Pause the Cycle If Your Manual Requires It
Some drip coffee maker cleaning procedures use a pause period partway through running the solution part of the way through the cycle, letting it sit for roughly 30–45 minutes, then completing the cycle. However, don’t automatically pause every coffee maker. If your machine has an automatic descale program, let it follow its own designed procedure instead.
Step 6: Empty the Used Descaling Solution
Once the cycle is complete, “carefully dispose of the used solution be cautious”, since some descaling solutions can be acidic. Wash the carafe thoroughly before using it for your next rinse cycle.
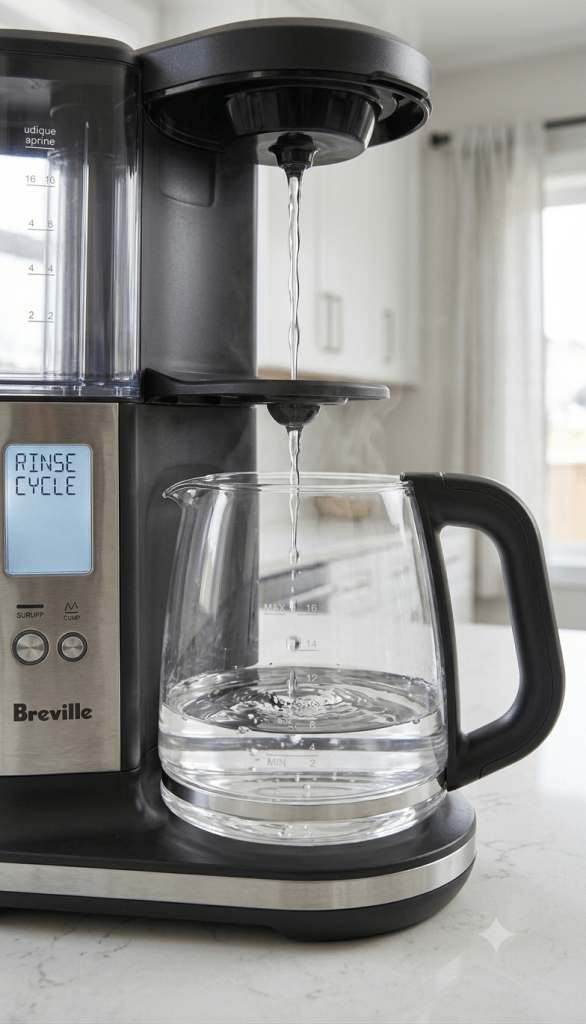
Step 7: Rinse the Coffee Maker With Fresh Water
This is one of the most important steps. Fill the water reservoir with clean, fresh water and run a complete rinse cycle. Depending on your machine and the descaling product used, you may need to repeat the rinse cycle more than once — don’t skip this, since residual descaling solution can leave an unpleasant taste.
Step 8: Wash the Removable Parts
After descaling, clean the carafe, filter basket, water reservoir (if removable), lid, and drip tray if applicable, using warm water and mild dish soap unless your manufacturer specifies otherwise. Dry everything thoroughly before reassembling the machine.
Step 9: Brew a Test Cycle
Before making your morning coffee, run one final water-only cycle if recommended by your manufacturer. Check water flow, brewing time, unusual noises, unusual smells, and coffee temperature. If everything looks normal with no vinegar or chemical odor, your machine is ready to use.
How to Descale a Coffee Maker With Vinegar
If your specific coffee maker’s manufacturer allows vinegar, the general process is:
- Empty the coffee maker and remove coffee grounds and filter.
- Remove the water filter if instructed.
- Mix white vinegar and water according to your manufacturer’s instructions.
- Add the solution to the water reservoir.
- Start the cleaning/brew cycle.
- Pause if the manufacturer’s instructions require it.
- Complete the cycle.
- Empty the used solution.
- Run fresh-water rinse cycles.
- Repeat the rinse if any vinegar smell remains.
The exact vinegar-to-water ratio is not universal; different manufacturers publish different ratios for their compatible models. That’s why the best safety advice is not to apply one fixed ratio as though it works for every machine; check your specific manual.
Can You Use Citric Acid to Descale a Coffee Maker?
Citric acid can be used with some coffee makers, but compatibility depends entirely on the manufacturer. Some brands provide a citric-acid descaling method for specific brewers, with the exact concentration and procedure spelled out in their instructions. If your coffee maker’s manual specifically permits citric acid, follow the recommended concentration and rinse procedure. Otherwise, use the descaler recommended by the manufacturer.
Can You Use Baking Soda to Descale a Coffee Maker?
Baking soda is often recommended online as a general coffee maker cleaner, but it isn’t the same thing as a dedicated descaling solution. Some manufacturers describe baking soda as suitable for certain cleaning tasks particularly odor removal and surface cleaning while reserving vinegar or a dedicated descaler for actually dissolving mineral deposits. If your goal is removing limescale specifically, don’t automatically substitute baking soda for the manufacturer’s recommended descaler.
What Not to Do When Descaling a Coffee Maker
- ❌ Don’t use a random cleaning chemical — a product that works on a kettle may not be suitable for your coffee maker.
- ❌ Don’t mix different cleaning chemicals — never mix vinegar with bleach or other household cleaning products.
- ❌ Don’t ignore the manufacturer’s instructions — different machines have different internal components and descale programs.
- ❌ Don’t skip the rinse cycles; remaining descaling solution can affect the taste of your coffee.
- ❌ Don’t descale a machine that’s still connected to power if the manual requires it to be unplugged — follow the safety instructions provided with your specific model.
- ❌ Don’t assume every coffee maker needs vinegar — some manufacturers specifically recommend their own descaling products, and using an unsuitable descaler or incorrect procedure can sometimes affect warranty coverage.
How to Prevent Mineral Buildup
- Use filtered water where possible — this can meaningfully reduce mineral accumulation over time.
- Empty the reservoir regularly rather than leaving old water sitting in it indefinitely.
- Clean the coffee maker regularly — descaling doesn’t replace normal cleaning.
- Follow the maintenance schedule — if your machine has a maintenance reminder, don’t ignore it.
- Know your water hardness — hard water generally causes mineral buildup faster than soft water.
Troubleshooting After Descaling
| Problem | Possible Reason | What to Do |
|---|---|---|
| Coffee still brews slowly | Heavy scale or another blockage | Repeat manufacturer-approved descale procedure |
| The vinegar smell remains | Not enough rinse cycles | Run additional fresh-water cycles |
| Coffee tastes strange | Residual solution or coffee oils | Rinse and clean removable parts |
| The clean light stays on | The cycle wasn’t completed | Run the full programmed cycle again |
| Water flow is still weak | Internal blockage or mechanical issue | Consult manufacturer support |
| The machine makes unusual noises | Scale or mechanical problem | Stop if noise is severe and check the manual. |
If performance doesn’t improve after a correctly completed descaling cycle, the problem may not be scale-related.
How Long Does Descaling a Coffee Maker Take?
The time varies significantly by machine. A simple drip coffee maker may need a relatively short cleaning cycle plus rinses, while automatic espresso machines can take considerably longer — some automatic descaling programs run around 25–40 minutes depending on the model. Don’t stop a programmed cycle simply because it seems slow; let it complete as designed.
When Should You Replace Your Coffee Maker Instead?
Descaling can solve mineral buildup, but it can’t repair every mechanical problem. Consider contacting the manufacturer or a qualified repair service if:
- The machine still brews extremely slowly after proper descaling
- Water leaks from the internal housing
- The machine repeatedly shuts off
- The heating system stops working
- There’s a burning electrical smell
- The machine makes severe grinding or electrical noises
- The machine won’t power on
At that point, continuing to run cleaning cycles likely won’t solve the underlying problem.
Frequently Asked Questions
01: How often should I descale my coffee maker?
It depends on water hardness, usage, and the machine model. Many manufacturers recommend a schedule ranging from roughly monthly to every few months; follow your specific machine’s maintenance instructions.
02: Is vinegar safe for every coffee maker?
No. Some manufacturers provide vinegar-based cleaning instructions, while others recommend a dedicated descaling solution instead. Always check your model’s manual first.
03: Does descaling improve coffee taste?
It can. Mineral buildup and residue can affect water flow and brewing performance, and cleaning the machine regularly helps maintain consistent coffee quality.
04: Can I descale a coffee maker without vinegar?
Yes. If your machine supports it, you can use a manufacturer-approved descaling solution or another compatible descaler specified in the manual.
05: Why is my coffee maker still slow after descaling?
The machine may have heavy scale buildup, a blocked water path, a clogged filter, or a mechanical problem. If a properly completed descale doesn’t improve performance, consult the manufacturer.
06: Should I remove the water filter before descaling?
Many manufacturers instruct users to remove the water filter before descaling, but the exact procedure varies; follow your coffee maker’s specific manual.
07: Can I make coffee immediately after descaling?
Yes, once you’ve completed the required rinse cycles and confirmed no descaling solution remains. If you can still smell or taste the solution, run another fresh-water cycle first.
Final Thoughts
Learning how to descale a coffee maker properly is one of the easiest ways to maintain consistent brewing performance. Mineral deposits build up inside the machine over time, particularly with hard water, and regular descaling helps maintain water flow, brewing performance, and coffee quality.
The most important rule is simple: don’t treat every coffee maker the same. Check the manufacturer’s instructions before choosing vinegar, citric acid, or a commercial descaler. For compatible drip coffee makers, vinegar can be an effective option; for many espresso and automatic machines, a manufacturer-approved descaling solution is the better choice.
Once you’ve finished the descale cycle, rinse the machine thoroughly, clean the removable parts, and follow the recommended maintenance schedule. A few minutes of regular upkeep can prevent slow brewing and keep your coffee maker performing reliably for years.
🔗 Related Troubleshooting Guides:
Why Is My Coffee Maker Brewing Slowly? 7 Causes & Easy Fixes
Coffee Maker Not Brewing Hot Enough? 7 Causes & Easy Fixes
Why Is My Coffee Maker Not Turning On? 7 Causes & Easy Fixes
Affiliate-Friendly Product Section
If you regularly maintain your coffee maker, a few basic supplies can make the process easier:
- Manufacturer-approved coffee machine descaler
- Reusable water filter
- Coffee maker cleaning brushes
- Microfiber cleaning cloths
- Replacement filter baskets
👉 Check Price of Coffee Machine Descaler on Amazon
👉 Check Price of Reusable Water Filter on Amazon
👉 Check Price of Coffee Maker Cleaning Brush Set on Amazon
Affiliate Disclosure: This article may contain affiliate links. If you purchase a product through one of these links, Smart Kitchen Vibe may earn a commission at no additional cost to you. We only recommend products we believe offer genuine value to our readers.
Editorial Policy
Every guide published on Smart Kitchen Vibe is carefully researched using manufacturer documentation, independent product information, and practical troubleshooting experience.
Our editorial goal is to provide accurate, easy-to-follow advice that helps readers diagnose appliance problems safely and confidently. Whenever possible, we recommend repairing or maintaining an appliance before replacing it, helping readers save money while extending the life of their kitchen equipment.





[…] How to Descale a Coffee Maker Properly: Complete Step-by-Step Guide […]
[…] Related reads: How to Descale a Coffee Maker Properly […]