
How to Clean and Maintain Your Smart Blender: Complete Care Guide (2026)

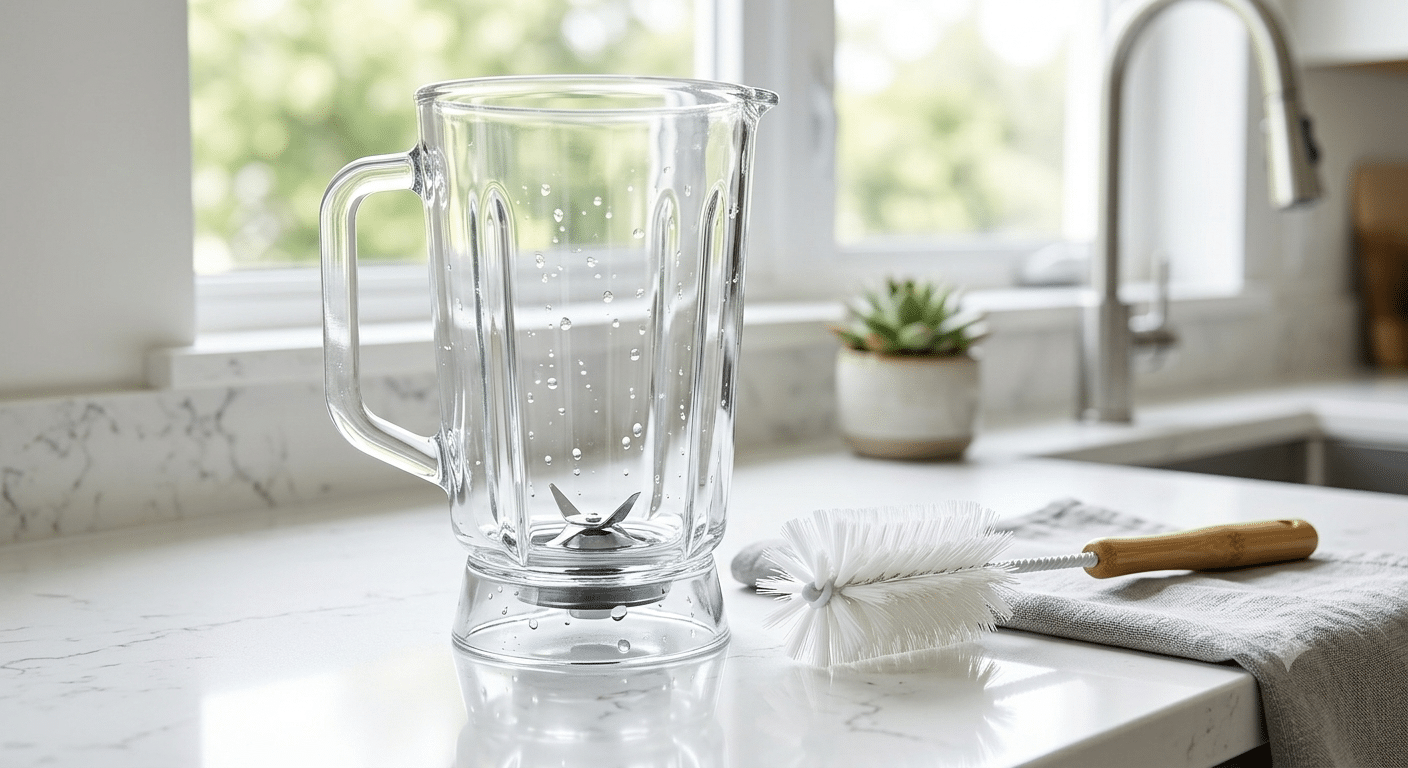
A smart blender can make healthy eating easier by preparing smoothies, soups, sauces, protein shakes, and frozen drinks in just a few minutes. But whether you use it every day or only a few times a week, knowing how to clean a smart blender properly is essential for keeping it hygienic and performing at its best.
Many blender problems — unpleasant odors, stained jars, dull blades, leaking seals, and reduced blending performance — are caused by poor cleaning habits rather than mechanical failure. Fortunately, once you know how to clean a smart blender the right way, these issues are easy to prevent with a simple routine.
Quick Answer: The fastest way to clean a smart blender is the self-clean method — fill the jar with warm water and a few drops of dish soap, blend for 20–30 seconds, then rinse. Do this after every use, and deep clean all removable parts once a week.
Step-by-Step Guide: How to Clean a Smart Blender
Cleaning your blender isn’t just about appearance. Food residue, moisture, and oils build up quickly, affecting both hygiene and performance. Regular maintenance helps you:
- Prevent bacteria and mold growth
- Eliminate unpleasant odors
- Keep blades performing efficiently
- Reduce wear on the motor
- Prevent leaks around the sealing ring
- Improve blending consistency
- Extend the overall lifespan of your blender
Even a high-end smart blender can develop performance issues if leftover food is allowed to dry around the blades or gasket.
Daily Cleaning Routine (Takes Less Than 2 Minutes)
The easiest way to keep your blender clean is to wash it immediately after each use — fresh residue is far easier to remove than dried food.
- Unplug the blender. Never clean the motor base while it’s plugged in.
- Empty the jar completely. Use a silicone spatula if needed to remove thick ingredients without scratching the jar.
- Rinse with warm water right away before residue has a chance to dry on.
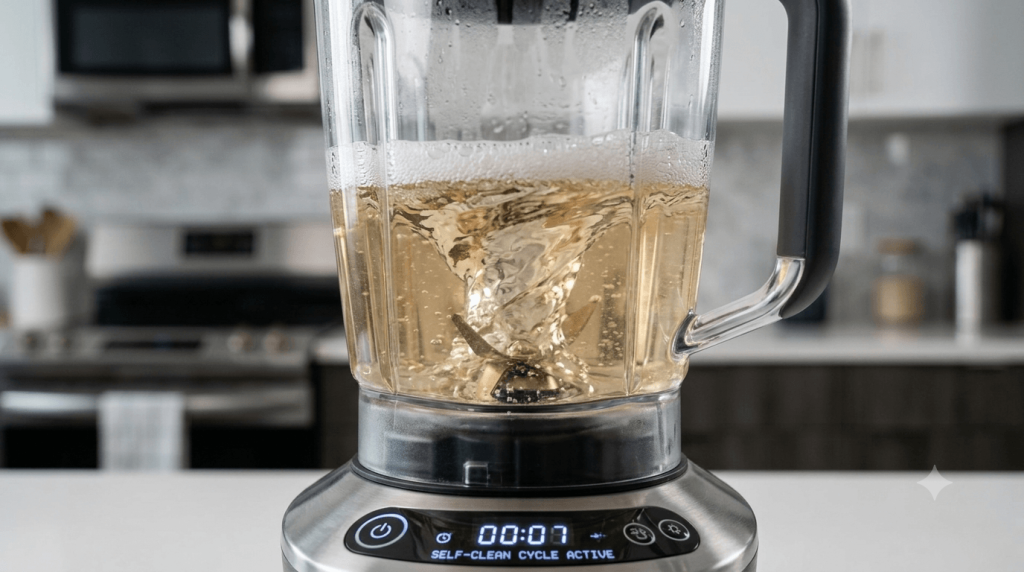
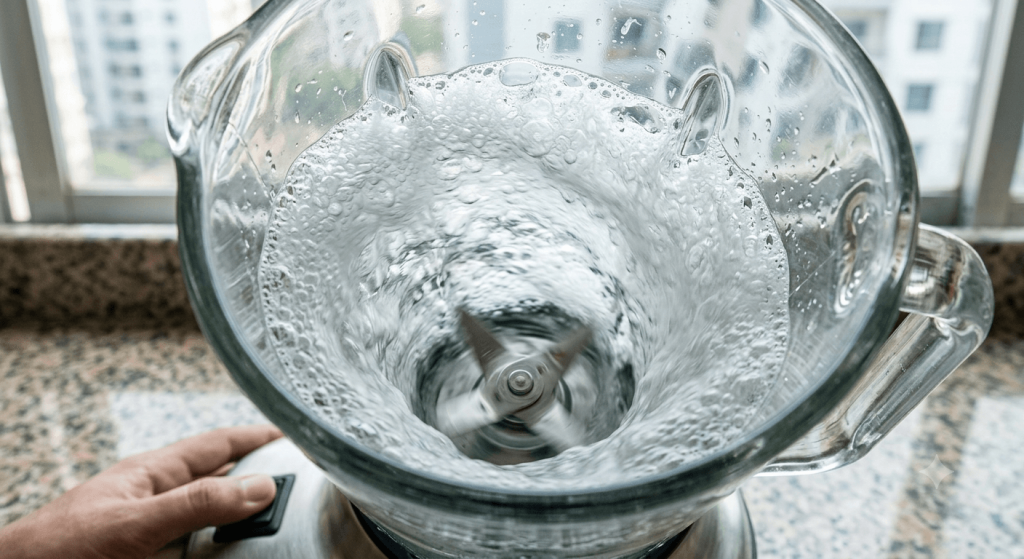
- Use the self-clean method: Fill the jar with 2 cups of warm water and 2–3 drops of mild dish soap, secure the lid, and blend on medium speed for 20–30 seconds. The swirling water removes most food residue from the jar and around the blades.
- Rinse thoroughly until no soap remains — soap residue can affect the taste of your next smoothie.
- Dry completely with a clean microfiber cloth or on a drying rack before reassembling. Trapped moisture around the gasket can encourage mold over time.
Cleaning the Lid and Blade Assembly Safely
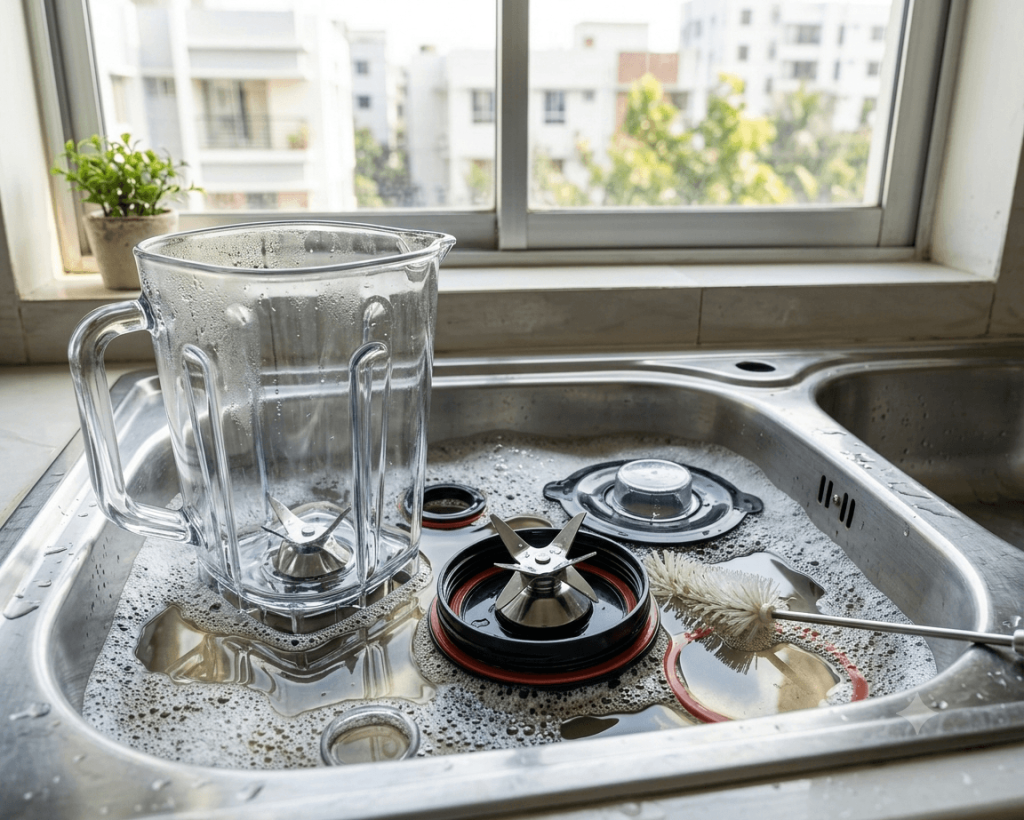
The lid often collects smoothie residue, especially around rubber seals and drinking spouts. Wash it with warm soapy water, use a small brush or soft toothbrush for tight corners, rinse thoroughly, and let it air dry. If your lid has removable silicone seals, take them out occasionally for a deeper clean.
The blade assembly is one of the most important—and most dangerous—parts of your blender:
- Never touch sharp blades directly
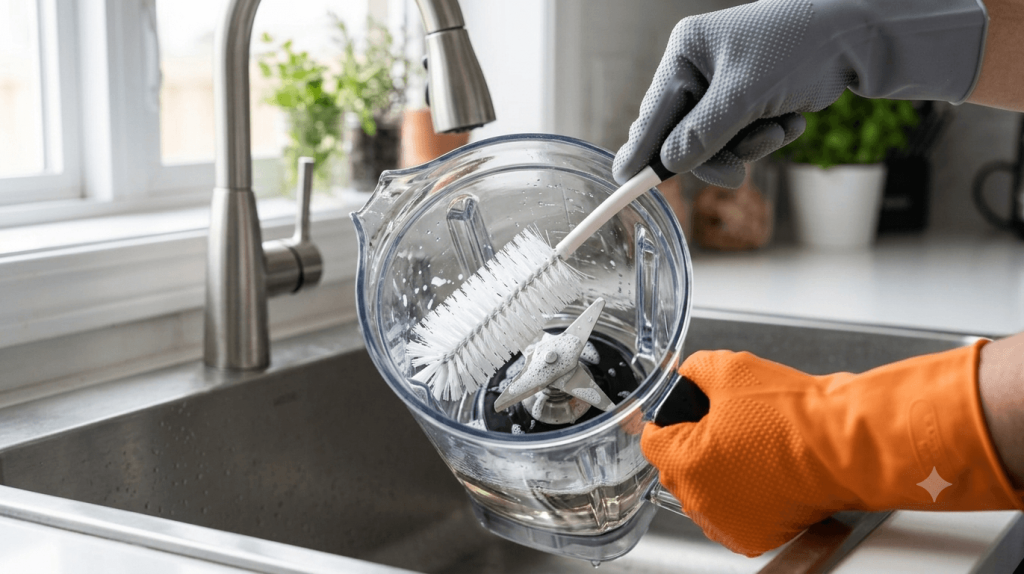
- Use a long-handled bottle brush instead of your fingers
- Wash with warm water and mild dish soap
- Check for food buildup underneath the blade assembly regularly
Signs Your Blender Needs a Deep Cleaning
Daily rinsing is important, but watch for these signs that it’s time for a more thorough clean: persistent unpleasant smells, a cloudy or stained jar, sticky residue that won’t rinse away, mold around the gasket, reduced blending performance, or leaks during operation.
How to Deep Clean Your Smart Blender (Weekly Routine)
Even with daily rinsing, tiny food particles, oils, and moisture collect in hidden areas over time. A deep clean once a week helps prevent odors and extends your blender’s lifespan — if you blend multiple times a day, deep clean every 3–4 days instead. If you want to know how to clean a smart blender deeply, make sure to disassemble the rubber gasket and soak the blades.”
- Disassemble the blender (jar, blade assembly, lid, measuring cap, and rubber gasket) after unplugging it.
- Soak the removable parts in warm water with a few drops of mild dish soap for 10–15 minutes to loosen dried residue. Never soak the motor base or any electrical components.
- Clean the jar thoroughly, paying special attention to bottom corners, the blade connection area, handle joints, and lid grooves. Avoid steel wool on plastic jars.
- Clean the blade assembly carefully with a long-handled brush, checking for rust spots, bent blades, loose connections, or mineral deposits.
- Wash the rubber gasket, checking for cracks, tears, flattening, mold, or hardening—replace it promptly if damaged, since a worn gasket is one of the most common causes of leaks.
- Clean the motor base — never submerge it in water. Wipe the exterior with a damp microfiber cloth, dry it afterward, and gently clear dust from the ventilation openings with a soft brush.
How to Remove Bad Smells From a Blender
Strong-smelling ingredients like garlic, onions, protein powder, coffee, spices, and leafy greens can leave odors behind. Three natural methods work well:
| Method | How to Use It | Best For |
|---|---|---|
| Lemon and warm water | 2 cups warm water + juice of half a lemon, blend 30 sec, let sit 10 min | Everyday freshening |
| Baking soda solution | 2 cups warm water + 1 tbsp baking soda, blend 1 min, let sit 20 min | Stubborn food odors |
| White vinegar | Equal parts vinegar and warm water, blend briefly, let sit 15 min | Mildew smells, mineral deposits |
How to Remove Tough Blender Stains
Plastic jars can stain from turmeric, tomatoes, berries, beetroot, curry sauces, and spinach. Try:
- Baking soda paste — apply to stains, let sit 20 minutes, then gently scrub.
- Lemon and sunlight — rub fresh lemon over the stain and leave the jar in indirect sunlight for a few hours.
- White vinegar soak — for mineral deposits or cloudy plastic, soak before washing normally.
10 Smart Blender Maintenance Tips
- Don’t overfill the jar — stay below the maximum fill line to avoid straining the motor.
- Add ingredients in the correct order: liquids, soft fruits, yogurt or protein powder, frozen fruit, then ice cubes.
- Avoid running an empty blender — this creates unnecessary wear and heat.
- Let the motor rest a few minutes between batches during continuous use.
- Tighten the blade assembly properly before each use to prevent leaks and vibration.
- Replace worn parts promptly—damaged seals, worn blades, cracked jars, or loose lids.
- Store your blender properly in a clean, dry location; avoid placing heavy objects on the jar.
- Keep air vents dust-free by cleaning them gently every few weeks.
- Use the correct speed settings for different foods to reduce motor strain.
- Follow the manufacturer’s instructions, since every model differs slightly.
Common Blender Cleaning Mistakes to Avoid
| Mistake | Why It’s a Problem |
|---|---|
| Leaving smoothie residue overnight | Causes odors and bacteria buildup |
| Submerging the motor base | Can damage electrical components |
| Using steel wool | Scratches plastic jars |
| Ignoring the gasket | Leads to mold and leaks |
| Overloading ingredients | Strains the motor |
| Storing while wet | Encourages mold growth |
| Using harsh chemicals | May damage seals and plastic |
| Forgetting blade inspection | Can reduce blending performance |
How Often Should You Clean Your Smart Blender?
| Task | Recommended Frequency |
|---|---|
| Rinse the jar and lid | After every use |
| Self-clean with warm water and dish soap | After every use |
| Wipe the motor base | Weekly |
| Deep clean all removable parts | Once a week |
| Inspect the blade assembly | Every month |
| Check the rubber gasket | Every month |
| Replace worn seals or blades | As needed |
If you frequently blend thick smoothies, nut butters, frozen fruit, or protein shakes, deep clean more often to prevent residue buildup.
Frequently Asked Questions
Can I put my smart blender in the dishwasher?
Many blender jars, lids, and removable accessories are dishwasher-safe, but this depends on the manufacturer. Always check your owner’s manual before placing any parts in the dishwasher. The motor base should never be submerged in water or placed in a dishwasher.
What’s the easiest way to clean a blender?
The self-cleaning method is usually the quickest option. Fill the jar with warm water and a few drops of dish soap, blend for about 30 seconds, then rinse thoroughly.
How do I remove bad smells from my blender?
Blend warm water with lemon juice, baking soda, or diluted white vinegar. These natural cleaners help neutralize odors without damaging the blender.
How often should I deep clean my blender?
For most households, once a week is sufficient. If you use your blender daily or prepare sticky recipes like nut butter or protein shakes, deep clean it every few days.
Why is my blender leaking?
A leaking blender is often caused by:
- A worn rubber gasket
- A loose blade assembly
- A cracked jar
- Improper assembly
Inspect these components carefully before using the blender again.
Recommended Blender Cleaning Accessories
Keeping a few inexpensive cleaning tools on hand makes blender maintenance much easier.
Long-Handled Blender Cleaning Brush
- Safely reaches around sharp blades.
- Cleans deep jars without scratching.
Bottle Brush Set
- Perfect for travel cups and narrow containers.
- Helps remove dried smoothie residue.
Microfiber Cleaning Cloth
- Ideal for wiping the motor base.
- Leaves a streak-free finish.
Replacement Rubber Gasket
- Prevents leaks.
- Restores a tight seal.
Food-Safe Dish Soap
- Removes grease and food residue.
- Gentle on plastic and rubber components.
Affiliate Disclosure:
This article may contain affiliate links to cleaning tools and blender accessories. If you purchase through one of these links, Smart Kitchen Vibe may earn a small commission at no additional cost to you. We only recommend products we believe offer genuine value to our readers.
Final Thoughts
A smart blender is one of the most useful appliances in any modern kitchen, but its performance depends on proper care. Spending just a few minutes cleaning it after each use and performing a weekly deep clean can prevent odors, improve blending results, and extend the life of the motor and blades.
By following the maintenance tips in this guide, you can avoid many common blender problems before they start. Regular inspections, proper storage, and replacing worn parts when necessary will help keep your blender running smoothly for years. Mastering how to clean a smart blender takes less than two minutes a day, but it doubles your blender’s motor lifespan.”
Whether you use your blender for morning smoothies, homemade soups, protein shakes, or family meals, a clean and well-maintained appliance will always deliver better performance.
Quick Maintenance Checklist
✅ Clean the jar after every use.
✅ Use the self-clean method daily.
✅ Dry all parts completely before storage.
✅ Deep clean the blender once a week.
✅ Inspect blades and gaskets monthly.
✅ Never immerse the motor base in water.
✅ Avoid overloading the jar.
✅ Replace damaged seals or blades promptly.
Related Guides
Having cleaning trouble that goes beyond routine maintenance? These guides can help:
- Why Is My NutriBullet Not Blending?
- Why Is My NutriBullet Making a Loud Noise?
- NutriBullet Blade Not Turning
- NutriBullet Smart Touch Blender Combo Review
- How to Clean an Air Fryer Basket Without Damaging It
- Why Is My NutriBullet Leaking From the Bottom?
References
Editorial Note
Reviewed by the Smart Kitchen Vibe Editorial Team
Smart blenders with digital controls (like NutriBullet’s SmartSense line and comparable Ninja/Vitamix models) need slightly different care than basic manual blenders, particularly around the sensor base and seals. This guide combines standard blender maintenance practices with smart-model-specific care steps.




[…] How to Clean and Maintain Your Smart Blender […]