
NutriBullet Blade Not Turning? (5 Easy Ways to Fix)

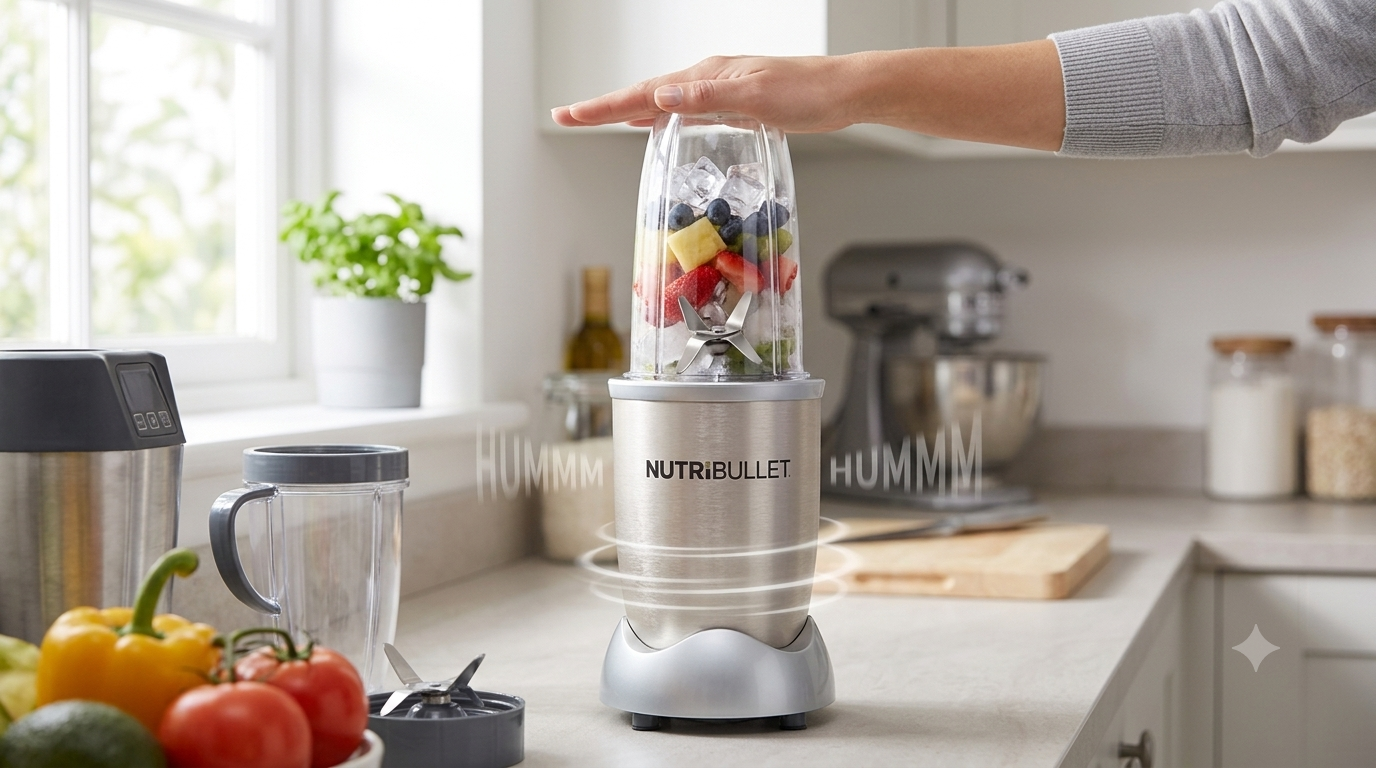
If your NutriBullet blade is not turning, the problem is usually caused by an overheated motor, stuck ingredients, faulty activator tabs, or a damaged blade assembly.
The NutriBullet is a staple in modern kitchens, beloved for its compact size, convenience, and high-speed cyclonic blending power. Whether you are whipping up a morning protein smoothie, crushing frozen berries, or preparing a quick sauce, it relies on a seamless mechanical connection between the motor base and the extractor blade assembly.
However, it can be incredibly frustrating when you press the cup down, hear the motor hum, or lock the tabs into place, only to discover a Nutribullet blade not spinning issue that is completely ruining your routine.
Quick Answer
If your NutriBullet blade not turning issue suddenly occurs, the most common causes are a jammed blade assembly, sticky base activation tabs, a worn drive gear, or an overheated motor. Unplug your blender immediately, check if the blade spins by hand, clean sticky base slots with rubbing alcohol, ensure sufficient liquid in the cup, and allow the motor to cool before replacing parts.
Safety Note
⚠️ CRITICAL SAFETY WARNING: Always unplug the NutriBullet power base from the electrical outlet before touching, inspecting, or manually rotating the blade assembly. NutriBullet blades are extremely sharp, and the base activation pins can trigger the high-speed motor unexpectedly if engaged while plugged in. Never insert fingers or foreign objects into the base drive gear while connected to power.
Why It Happens
The NutriBullet blending mechanism depends on two core mechanical actions:
- Mechanical Engagement: The rubber drive gear on top of the motor base must interlock smoothly with the blade gear underneath the extractor blade assembly.
- Safety Actuator Activation: Depending on your NutriBullet model, the cup tabs activate internal safety switches that allow the motor to run. If these switches or slots are clogged with dried juice or food residue, the motor will not engage, or it will hum without driving the blade gear.
When either of these mechanical linkages fails, your blender blade remains completely stationary.
Is It Safe?
It depends on the cause:
- Safe to inspect: If the blade is simply jammed by hard ingredients or thick frozen fruit, clearing the cup and adding liquid is completely safe.
- Unsafe (Stop Immediately): If you smell burning rubber, see white/grey smoke coming from the power base, or hear an intense grinding metal-on-metal sound, do not force the blender to run. Forcing a jammed blade can burn out the electric motor or shred the rubber drive gear permanently.
Common Causes
Here are the primary reasons behind a NutriBullet blade not turning during your blend:
- Dried Food Residue in Activation Tabs: Sticky smoothie spills seep down the cup slots and freeze the activation pins in place.
- Jammed or Seized Bearing Assembly: Over time, liquids bypass the silicone O-ring gasket, causing the metal shaft bearing beneath the blade to rust or seize up.
- Worn-out Rubber Drive Gear or Socket: Repeated heavy loading can strip or melt the teeth on the black rubber drive gears located on the base and blade.
- Insufficient Liquid (Thermal Overload): Blending dense or frozen ingredients without enough liquid overworks the motor, triggering the internal thermal safety switch to cut power.
- Broken Plastic Cup Locking Tabs: If one of the plastic tabs on the lip of your blending cup snaps off, it cannot press the internal micro-switch to activate the motor.
Why Is My NutriBullet Blade Not Turning?
Fix 1: Manually Test and Unjam the Blade Assembly

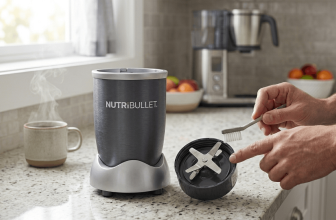
Unplug the power base, remove the blade lid from the cup, and carefully try to rotate the metal blades using a folded towel or protective glove.
- If it spins freely: The problem lies in the power base switches or drive gear.
- If it is stiff or completely frozen: The bearing is seized. Soak the underside of the blade assembly in warm, soapy water for 15 minutes to clear dried food. If it remains stiff, the bearing assembly needs to be replaced.
Fix 2: Clean the Base Activation Pins (Sticky Actuators)
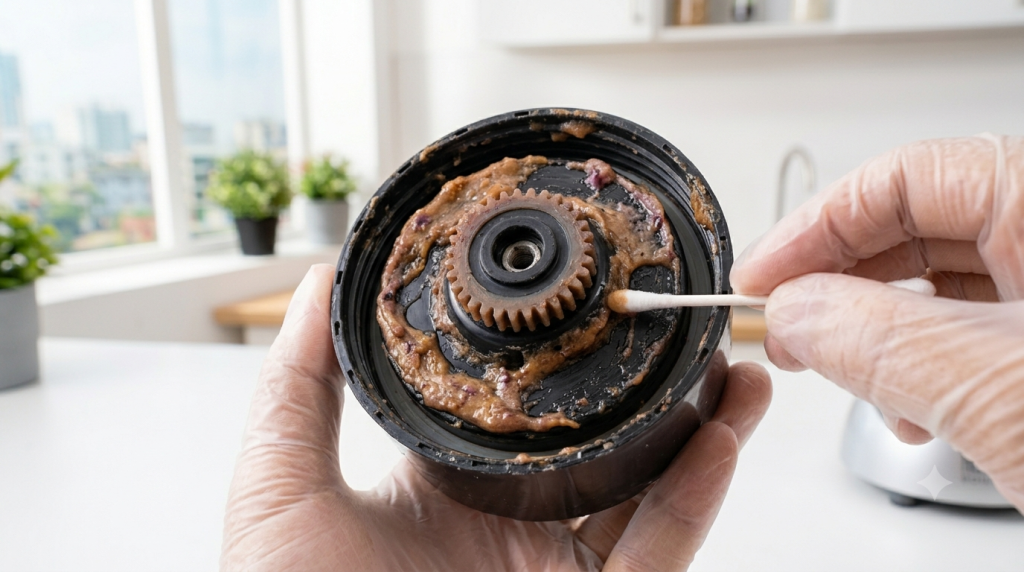
Spilled liquids frequently cause the plastic pins inside the base rim to stick in the “down” position or fail to press down smoothly.
- Unplug the NutriBullet.
- Dip a cotton swab or toothbrush in isopropyl alcohol (rubbing alcohol).
- Thoroughly clean around the plastic slots inside the top rim of the base.
- Press each pin gently using the blunt end of a wooden utensil until they spring back up smoothly.
Fix 3: Adjust Liquid Ratios (Prevent Motor Stall)

Blending thick ingredients like nut butters, frozen bananas, or ice without liquid creates an air pocket or stalls the blades.
- Always add at least 1/2 cup of liquid (water, milk, or juice) before blending dense recipes.
- Use short 5-to-10-second pulses rather than running the motor continuously for over 1 minute.
Fix 4: Reset the Motor Thermal Protection
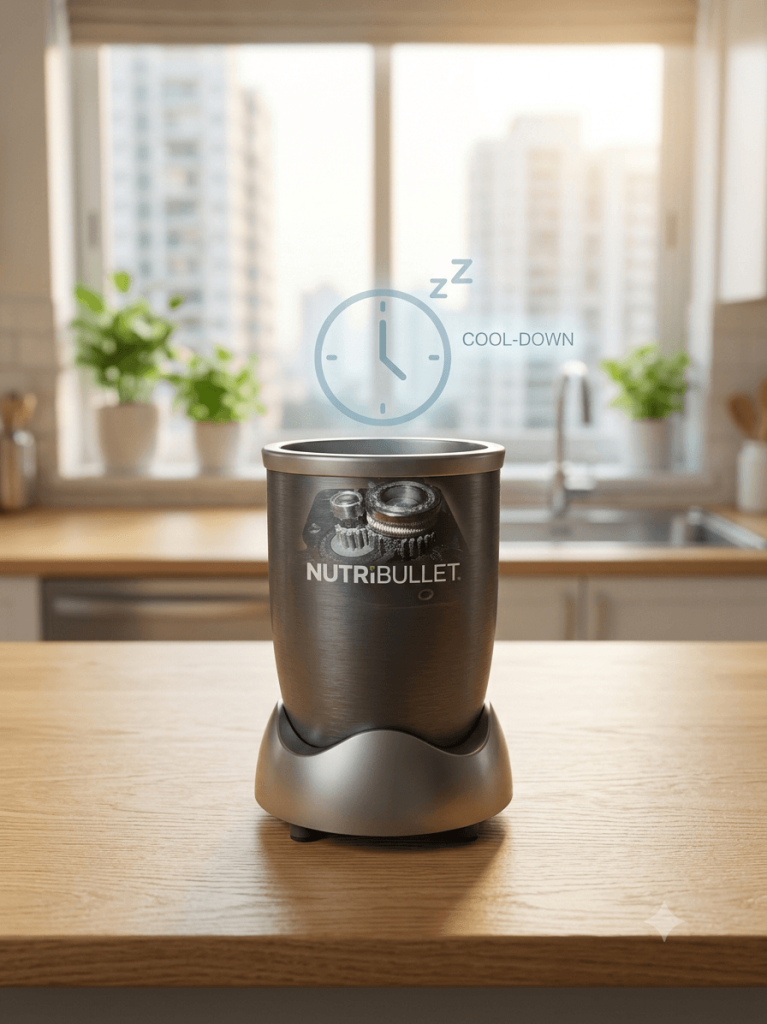
If the blender was working and suddenly stopped mid-blend:
- Unplug the unit immediately.
- Allow the power base to rest and cool down in a well-ventilated area for 15 to 20 minutes.
- Once the thermal safety switch resets automatically, re-plug the unit and test with a light liquid blend.
Fix 5: Inspect and Replace Damaged Drive Gears
Examine the black rubber gear on top of the base motor and underneath the extractor blade lid.
- If the rubber teeth look rounded, cracked, shaved down, or melted, the motor cannot grip the blade.
- Replacement rubber drive gears are inexpensive and can be swapped out easily using a flathead screwdriver (remember: drive gears usually have reverse threads!).
Troubleshooting Table
| Symptom / Observed Issue | Likely Root Cause | Recommended Quick Fix |
|---|---|---|
| The motor hums, but blade does not spin | Stripped drive gear or jammed bearing | Check blade rotation by hand; replace worn rubber gear |
| Nothing happens when cup is pressed down | Sticky activation pins or broken cup tab | Clean base slots with rubbing alcohol and inspect cup tabs |
| The blade turns slowly with burning rubber smell | Blade bearing seizing up or overloaded cup | Add more liquid immediately; replace old blade lid |
| The blender shut off suddenly mid-operation | The motor overheated (Thermal cut-off triggered) | Unplug and let unit cool down for 20 minutes |
| The blade spins empty but stops when food is added | Stripped internal motor coupler or worn gear | Replace blade assembly or motor drive gear |
When Should You Replace Your NutriBullet Blade?
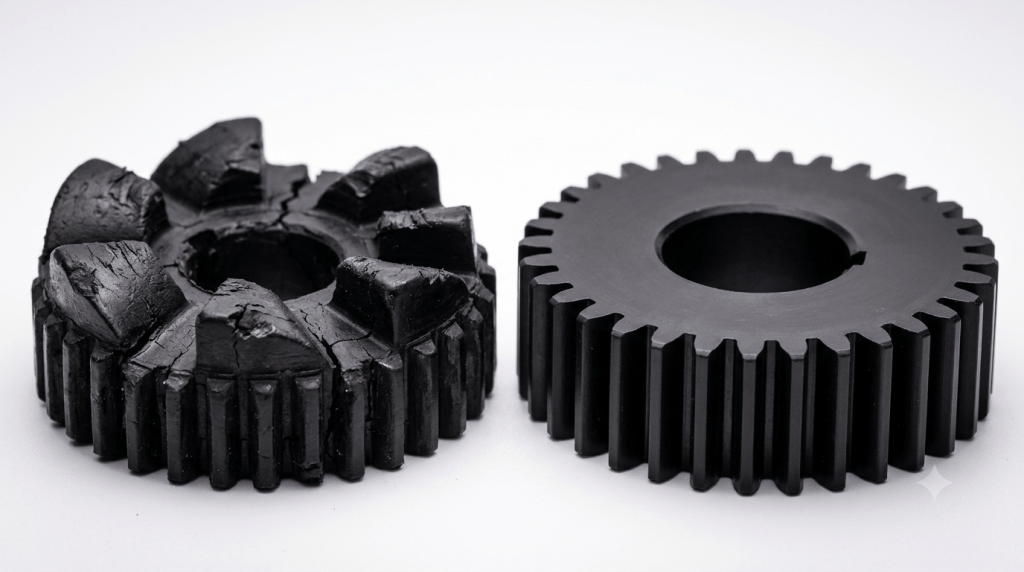
While many issues can be fixed with quick cleaning, blender blades do not last forever. You should replace your NutriBullet extractor blade assembly if you notice any of the following signs:
- Blade refuses to spin even when empty: The central bearing has completely rusted or seized.
- Leakage from the bottom center: Brownish or rusty liquid accumulates underneath the blade lid after blending.
- Loud grinding noise during operation: The internal steel ball bearings have broken down.
- Loose or missing rubber gasket: The inner seal is stretched out, causing liquid to enter the motor base continuously.
💡 Rule of Thumb: If you use your NutriBullet daily, replace the extractor blade lid every 6 to 12 months to maintain smooth operation and protect your motor base.
Prevention Tips
- Never Submerge Blade Lids in Hot Water: Washing blade assemblies in the dishwasher or soaking them in boiling water degrades the internal rubber gasket seal and washes away factory bearing grease.
- Follow the MAX Fill Line: Never fill ingredients past the MAX line marked on the cup.
- Pulse Thick Ingredients: Use quick pulse intervals to break down frozen fruits or ice before continuous blending.
- Wipe Spills Immediately: If smoothie liquid leaks into the base rim, unplug and clean it with a damp cloth right away before it dries into a sticky glue.
Expert Tips
- The Two-Gasket Strategy: Keep a dedicated blade assembly for savory items (like garlic dips or marinades) and another for sweet smoothies. Replacing your extractor blade assembly regularly ensures optimal cyclonic extraction without straining the motor.
- Check the Silicone Ring Alignment: A loose or improperly seated rubber O-ring inside the blade assembly causes liquid leaks that ruin motor bearings. Always check that the gasket sits flush inside the inner groove before twisting the blade onto the cup.
Frequently Asked Questions (FAQs)
Q1: Can I oil or lubricate a stiff NutriBullet blade bearing?
It is not recommended to use standard lubricants like WD-40 on blender blades, as they are non-food-safe and can contaminate your beverages. While a drop of food-grade mineral oil can provide temporary relief, a seized bearing means the seal has failed and the blade assembly should be replaced.
Q2: How do I know if my cup tabs are broken?
Look at the top rim of your plastic NutriBullet cup. You should see three evenly spaced, clear plastic protruding tabs. If any of these tabs are chipped, bent, or missing, the cup will not depress the safety switches inside the base.
Q3: Why does my NutriBullet blade leak brown liquid from the bottom?
Brown or rust-colored liquid dripping from the bottom of the blade assembly indicates that liquid has penetrated the central bearing seal and rusted the internal metal components. Discontinue use and replace the blade assembly. ### Q6: How do I know if my cup tabs are broken? Look at the top rim of your plastic NutriBullet cup. You should see three evenly spaced, clear plastic protruding tabs. If any of these tabs are chipped, bent, or missing, the cup will not depress the safety switches inside the base.
Q4: Why is my NutriBullet blade not spinning when turned on?
A Nutribullet blade not spinning is commonly caused by too little liquid, packing frozen fruit past the MAX fill line, or stripped plastic teeth on the motor drive gear.
Q5: Is it normal for a brand-new NutriBullet blade to feel a little stiff?
A slight resistance on a brand-new blade is normal factory grease inside the bearing can feel thick until it’s been used a few times. However, if the blade is completely frozen and won’t rotate at all out of the box, this indicates a manufacturing defect and should be exchanged under warranty.
Q6: Can I still use my NutriBullet if only one of the cup tabs is broken?
Most NutriBullet models require all activation tabs to be intact and functioning to trigger the safety switch. A single broken or missing tab is often enough to prevent the motor from engaging at all, so the cup lid typically needs to be replaced rather than used with a broken tab.
Q7: How long does it usually take for the motor to cool down after overheating?
Most NutriBullet motors reset within 15 to 20 minutes of rest in a well-ventilated area. If the unit still won’t restart after 30+ minutes of cooling, the thermal fuse itself may have failed and the base will need professional repair or replacement.
Conclusion
Dealing with a NutriBullet blade not turning is a common appliance issue that is usually simple to fix at home. By regularly cleaning sticky base activation pins with rubbing alcohol, ensuring proper liquid ratios, and replacing worn rubber drive gears or seized blade assemblies, you can keep your NutriBullet running smoothly for years to come.
Fixing a Nutribullet blade not spinning usually comes down to reducing ingredient loads, adding enough liquid for a vortex, or replacing a worn extractor blade assembly.
Recommended Replacement Parts
If inspection shows a stripped drive gear or a seized bearing, replacing the specific part is often much cheaper than buying a whole new blender. Here are the top manufacturer-compatible parts to fix a Nutribullet blade not spinning:
- NutriBullet Replacement Extractor Blade Assembly — The primary solution when worn bearings cause severe resistance or prevent the blade from spinning entirely.
- NutriBullet Motor Top Base Gear & Rubber Gear Replacement Kit — Ideal if stripped gear teeth are causing the motor to spin freely without turning the blade.
- Food-Grade Silicone Lubricant Spray — Excellent for keeping fresh rubber gaskets flexible and preventing gear binding.
👉 Check Price of NutriBullet Replacement Blade Assembly on Amazon
👉 Check Price of NutriBullet Drive Gear Replacement Kit on Amazon
Affiliate Disclosure: This article contains affiliate links. If you purchase through these links, Smart Kitchen Vibe may earn a small commission at no additional cost to you. We only recommend products we trust for kitchen appliance maintenance.
🔗 Related Troubleshooting Guides:
Why Is My Nutribullet Smoking?
Why Is My Nutribullet Leaking from the Bottom?
Why Does My NutriBullet Smell Like Rubber
How to Clean and Maintain Your Smart Blender
Why Is My NutriBullet Making a Loud Noise?
Why Is My NutriBullet Not Blending?
References
- NutriBullet Official User Manuals & Safety Care Guides — NutriBullet Support
- Small Kitchen Appliance Maintenance Standards & Motor Thermal Protection Guidelines.
Editorial Note
Reviewed by the Smart Kitchen Vibe Editorial Team
A jammed or non-turning blade is typically a mechanical fit issue rather than a motor failure, and it’s especially common in the classic NutriBullet cup-and-blade design. This guide draws on manufacturer assembly instructions and the most frequent blade-jam causes reported across NutriBullet models.




[…] 🔗 Related Troubleshooting: If your blade is completely stuck or refusing to turn at all, read our detailed guide on NutriBullet Blade Not Turning. Causes & Fixes. […]